
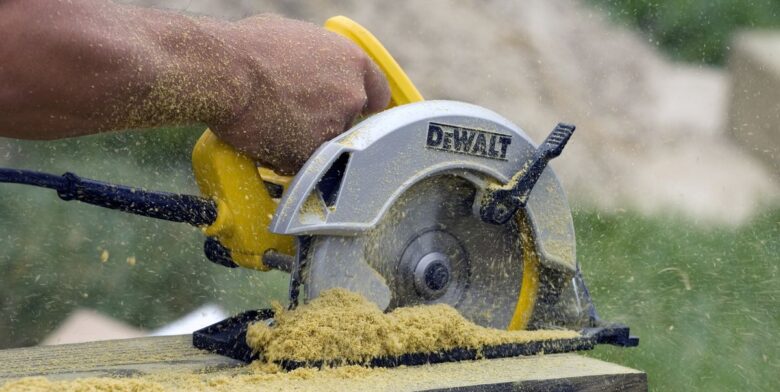
A circular saw is an electric DIY (do-it-yourself) tool that is used when one wants to cut a block of thick wood. It is termed as the most accurate and versatile compact tool for cutting wood that uses power for its full operation. Besides, the sawis fixed with an abrasive blade that can cut through several materials including metal, concrete, plastic, and wood. The basic handler of such saws is a plastic handled type.
Due to its small size circular saws are easily portable, with this feature then the tool is preferred as the most confinement and cheaper since it doesn’t require too much cost to transport and energy to use.
They also require the user to give all of his attention to avoid any possible accident. The major examples of circular saw include: Makita 5007F circular sawMakita 5007F circular saw, SKILSAW SPT67WL-01 15 AmpSKILSAW SPT67WL-01 15 Amp, among a few others.
What We Have Covered
Requirements
- A drawing pencil
- A square ruler.
- A stand for placing your thick wood for cutting.
- Measuring tape, together with the circular saw and the thick.
What to Consider before purchasing the circular saw
- Kind of hand that you always use- Before you buy a circular saw you should consider the hand that you mostly use may be a right-handed or left-handed saw. This is mostly considered for easy vision during the cutting process. The non-dominant hand should be on the front knob as well as the trigger and power switch should be on the dominant hand.
- The lever of work you want to do- If you want to do a lot of work then choose the corded circular saw because it will give you the kind of energy as long as you need its connection from the electricity source. However, if you will perform less work then consider the cordless kind of saw to do the task.
- Before buying the saw you need to consider the level of safety you need, you either choose the blade covered or diversity guard for safety.
After you consider all the safety precautions that we have discussed and acquiring all that you need then now it’s time to do the real task. Below are the steps to follow to cut your wood:
If you want to know more about compact circular saw follow this site.
Step 1: Measure the blade and the wood thickness.
Using the measuring tape, measure the size of your wood thickness together with the blade’s exposed part; else if you fail to take this step and the wood thickness happens to be more than double the blade’s saw exposed then you will have to choose another kind of cutting tool. If you measured and found that the sizes differ then you will have to change the blade, there exist different sizes of blades as 6.5 inches to 8.65 inches diameter blades.
Step 2: Secure the wood onto the stand
Place the wood on the stand after ensuring that the stand size is in union with the wood that you want to cut. Then place the wood in a manner that the area you want to cut is at the far end of the stand. This step is important to avoid injuries when cutting.
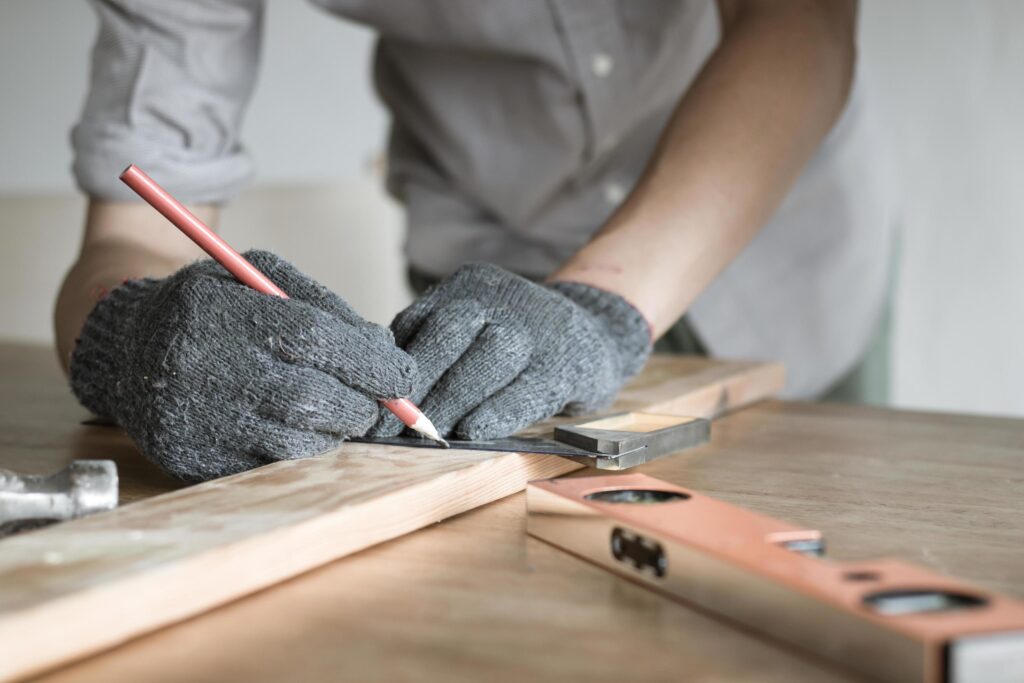
Step 3: Mark with the Pencil
Having decided where you want to cut, using the square ruler makes straight mark lines using the pencil. Make sure that you mark all around the wood for accuracy purposes. After creating your line use the measuring tape and measure from one end of the wood to every line. Make sure that all the lines are at the same distance from the end of the wood.
Step 4: Adjust the blades of the circular saw

Cutting 8-inch wood is different from cutting a 3-inch. But this does not mean that you leave your cutting process because you have another option of adjusting the blades of your saw depending on the thickness of your wood.
Step 5: Wear protective gears

In the process of cutting, you will have to experience a lot of dust and splinter from the wood, this form of dust may lead to health issues such as heart and lungs disorders. Therefore to avoid this you should wear protective glasses or goggles and mask to avoid dust. In addition you should wear ear muffs because the saw produces a lot of noise that may affect your ears.
Step 6: Cutting Process

This is the other most important part of the activity, if done wrongly then you may end up doing something wrong. The cutting process starts from one side of the marked line and doesn’t force the saw forward when cutting. Hold the wood with one hand and with the saw blade riding through it as you cut.
Step 7: Flip and Finish
After you are done cutting one side of the, then rotate the wood at an angle of 180 degrees as you cut the other marked line. Once you complete this rotation now re-clamp your workpiece to grab your saw again. Do this step for all the marked lines.
Step 8: Storing your circular saw
Storage is also one of the most essential steps, if stored wrongly then the lifespan of your saw will be reduced by far therefore after use you should wipe the saw, remove the blades and wipe them and ensure every piece is dry before attaching them back.
Conclusion
To ensure you finished your task well without damage, don’t force the saw forward to cut,always run the saw on free air to ensure that it is rotating,unplug your saw when not in use, use the sharp blade when cutting, and the locking nut of the blade should not be tightened too much finally always keep your hand a distance away from the cutting blade to avoid damage.
Finally having gone through all the steps that you will need to consider when cutting your piece with a circular saw, now the task lies in your hands as it seems so simple to perform.
You should not take any of the precautions given for granted because they may harm you. You should familiarize yourself with the tool and then the task can be said as done.
Take a look at these circular saws that are available right now on Amazon: