

Finger joints can be cut in multiple ways like with the handheld or router table but in this article, I will discuss how to make a finger joint with a router? Using router finger joints become more easy and attractive.
Finger joints a simple version of the dovetail joints, sometimes also called a box joint and a comb joint. But sometimes its thinner and slight cut make it different with the box joint.
A more attractive thing is that you can make corners of boxes instead of using dovetail joints.
Having a set of fingers along the edges of one or more piece of wood which interlock and then glued together. Commonly used for making the pieces of boats, kitchen equipment, molding and trim, home equipment like door construction, etc.
What We Have Covered
Keep in mind: box joint and finger joint are different.
A specific router bit and a cutter require for making a finger joint with a router. There are two types of jointer cutters. A comb jointer cutter and a finger jointer cutter. Both have their unique feature.
A comb jointer cutter produces fingers and grooves which have square shape but finger jointed cutter produces fingers and grooves with slightly thin edges.
Before knowing how to make a finger joint with a router, you have to know about the jointer cutters, their size their fixed and adjustable parts. The jointer cutter which has adjustable parts can be changed. This will help you to make different size of boards or pieces of wood more flexible.
Things require
First thing you have to know the required things used for making finger joints.
- Pencil
- Ruler
- Router table
- Two pieces of wood
- Router bit (specific for finger joints) if you don’t this bit then check it and buy now.
How to make a finger joint with a router?
Here I am will tell you an easy technique for making finger joints. A step-by-step guide for making a finger joint with the router bit is:
Before you begin
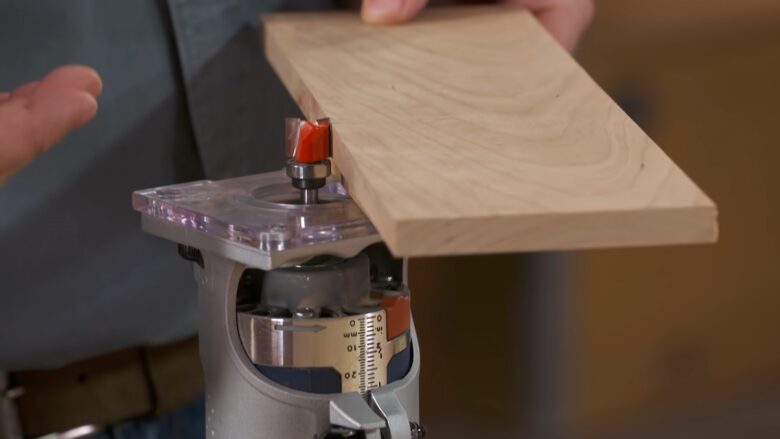
Install the finger joint router bit
Place the router bit in the router table. Set up according to your need. Finger joint router bit has 6 blades, five is thinner and the one is thicker.
Mark the sides of the wood
Take two pieces of wood, a pencil, and a marking gauge. Mark on the edges of both pieces of wood you want to make fingers.
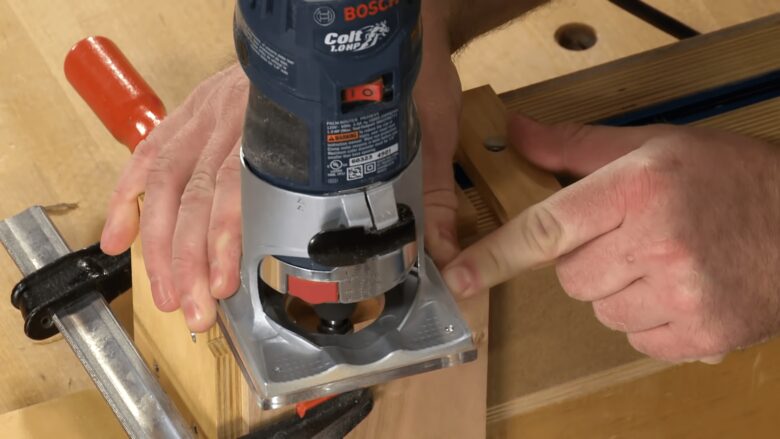
Prepare the router table
Set the height of the router bit and tighten it in the table. Move the fence forward and tight its both end. Now ready for routing.
LET’S BEGIN
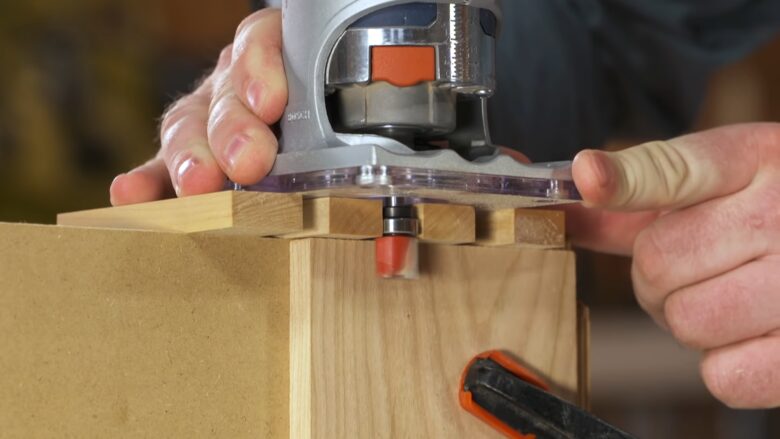
Start routing the first piece of wood
Push the first piece of wood along the finger joint router bit with the help of supporter and start routing.
Start routing the second piece of wood
Do the same thing as you did with the first piece of wood. Place the second marking piece on the table and push along the router bit. This is the easy way to do.
Glue both pieces of wood and finis
Now glue both pieces to combine. Finger joints are ready. If you wanted to make a box then use four pieces of wood. It’s up to you.
Final verdict
Woodhutt guide you how to make a finger joint with a router. As I said that you need a specific router bit and cutter for doing the task. In this context, there is a simple technique for making finger joints. I hope that you learn and understand these things easily.
If you have any query or question related to this topic then comment on us. I will give you a response to your problems. Now try to make your home equipment and give us your feedback. Thank you! Best of luck!